
INTRODUCTION
As a graphic designer at photo Clipping Retouching, I get to work with some of the most impressive images in the digital world: 360-degree photos. These photos provide a unique, immersive experience, allowing viewers to feel completely present in a new environment. However, this advanced technology has its own set of challenges. One of the most common problems I see is stitching errors in 360 photos. These distracting lines and warped areas can shatter the illusion of reality, which is why I want to share my personal workflow for solving this exact problem, helping you achieve the desired professional outcomes.

“THE DETAILS ARE NOT THE DETAILS. THEY MAKE THE DESIGN”
— Charles Eames
Understanding Why These Stitching Errors Happen
To effectively fix any issue, it is best to first understand why it occurs. Most 360 photo alignment issues are caused by something called parallax. This is the slight change in an object's apparent position when you look at it from two different points of view. A 360 camera uses multiple lenses, and if it is not rotated perfectly around a specific point (the no-parallax point), the images from each lens will not align. The software then has to guess how to join them, which creates visible panorama stitching errors.
While parallax is the main culprit, other factors can also cause problems:
- Movement in the Scene: If people or objects move while the photo is being taken, it can result in strange, ghost-like images.
- Changes in Light: If the sun goes behind a cloud, the brightness can change from one shot to the next, creating obvious seams in the final image.
An Unsteady Camera: Using a shaky hand instead of a solid tripod can cause misalignments that are very hard for software to fix.
How To Avoid Stitching Errors From The Start
As a professional, I believe the best edit is the one you do not have to make. Prevention is always better than cure. By taking care during the shooting process, you can save yourself hours of editing time.
1. Use The Right Equipment
The gear you use is your first line of defense against stitching errors.
- A Sturdy Tripod: This is non-negotiable. A solid tripod eliminates hand-shake and ensures the camera stays in the exact same position for every shot.
A Panoramic Tripod Head: This is a specialized piece of equipment that allows you to rotate your camera around its "no-parallax point." Using a panoramic head is the single most efficient method for removing parallax, which is the main reason for stitching mistakes.
2. Master Your Camera Settings
Your camera must be set to full manual mode to ensure consistency across all your shots.
- Manual Focus: Set your focus once for the scene and then do not touch it again. This prevents some parts of your 360 view from being sharp while others are blurry.
- Manual White Balance: Avoid using Auto White Balance. Choose a specific preset (like "Daylight" or "Cloudy") or set a custom Kelvin temperature. This guarantees that every single shot has the same color.
Manual Exposure: Manually adjust your ISO, shutter speed, and aperture. If you use an automatic mode, the camera might change the brightness from one shot to the next, creating very obvious seams in your final stitched image.
3. Perfect Your Shooting Technique
- Overlap Your Shots: Make sure that every picture you take has a 25–30% overlap with the one before it.This gives the stitching software much more information to work with, allowing it to find matching points more easily and create a cleaner stitch.
- Manage Movement: If there are people or cars moving through your scene, you have two options: either wait patiently for the scene to be clear, or take multiple shots of that particular angle and later use masking techniques in your editing software to create a clean plate.
Professional Tips Before You Begin Editing
If you could not avoid the errors during the shoot, do not worry. That is what editing is for. Before I open any file, I always take a moment to prepare.
Tip 1: Prepare Your Workspace
Make sure your computer monitor is calibrated for accurate color. For this kind of detailed work, a high-resolution screen and a quality mouse for precise control are invaluable tools.
Tip 2: Use Professional File Management
This is a critical habit. Before you start, create a project folder. Inside, make a copy of your original 360 photo. I recommend a clear naming system like ProjectName_Original.jpg for the original, ProjectName_Edit.psd for your work file, and ProjectName_Final.jpg for the finished image.
Tip 3: Understand the Editing Strategy
I'll show you a method that makes use of the Polar Coordinates filter, a very useful tool. The goal is to "unwrap" the spherical 360 photo into a flat, rectangular image. This process makes the distorted, pinched areas at the top and bottom of the photo completely flat and easy to access.
The Professional Workflow To Fix 360 Photo Stitching
This is the specific, step-by-step process I use to fix difficult stitching issues. For the best results, it is important to follow these steps in order.
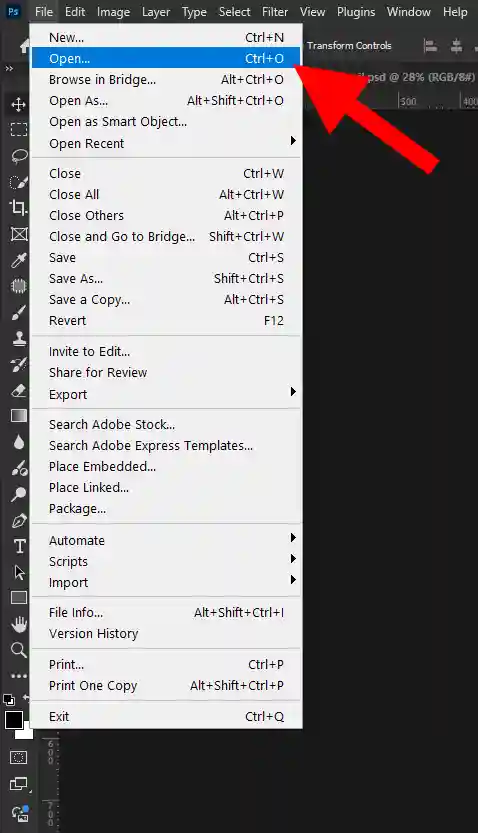
Step 01: Opening The Image
- Go to left side then click on file option then click on open.
- Then choose the image you wanted to open then press ok.
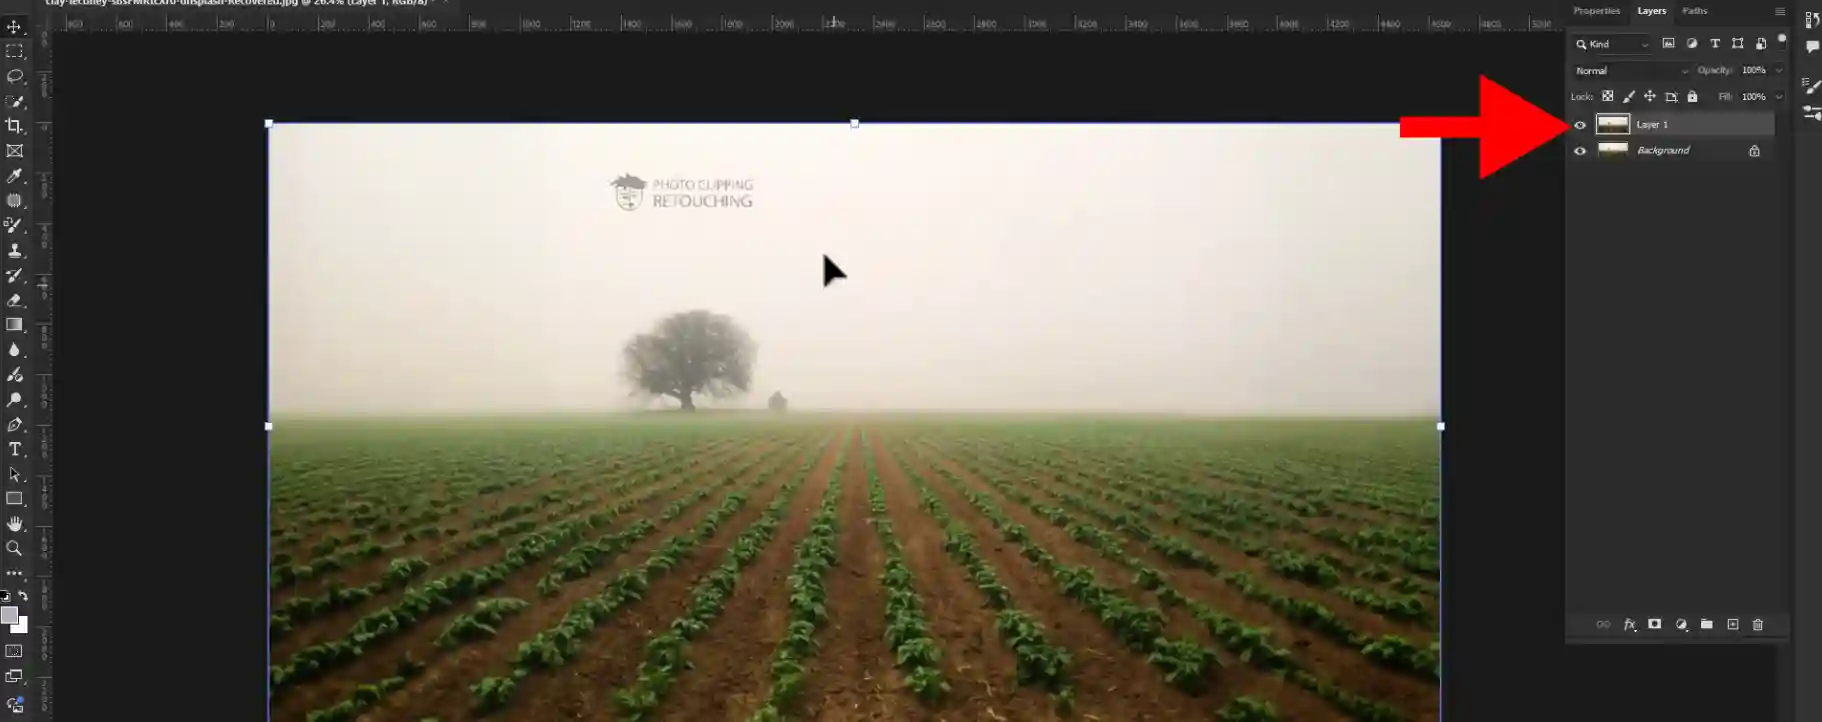
Step 02: Make A Duplicate Layer
Duplicate layers can be created by pressing Ctrl + J.
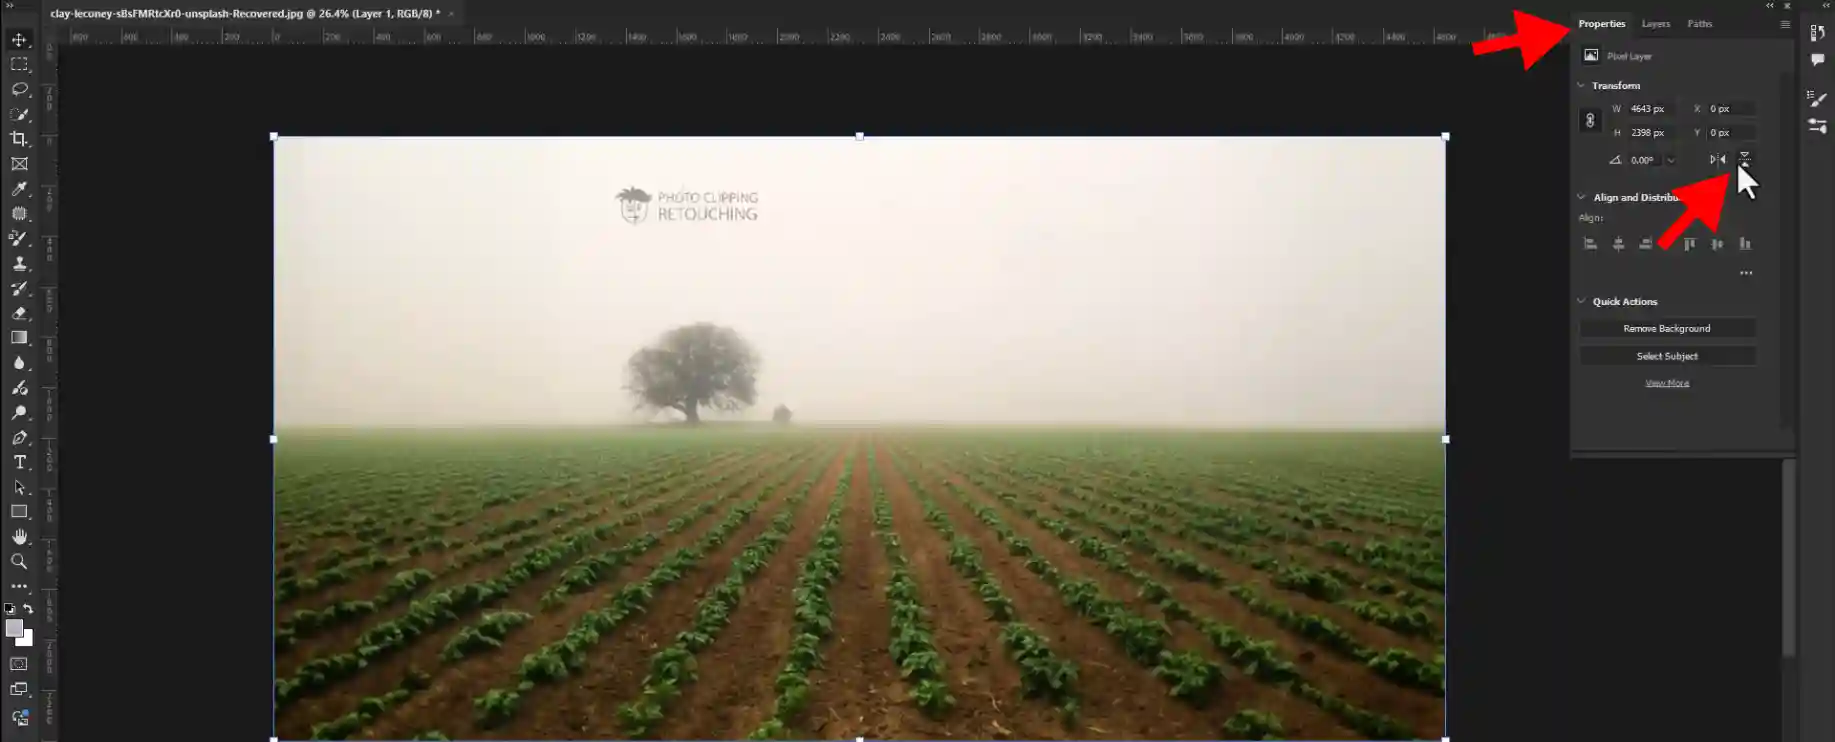
Step 03: Making Upside Down The Image
Go to your right side tool bar.Now click on properties and then click on upside down icon.
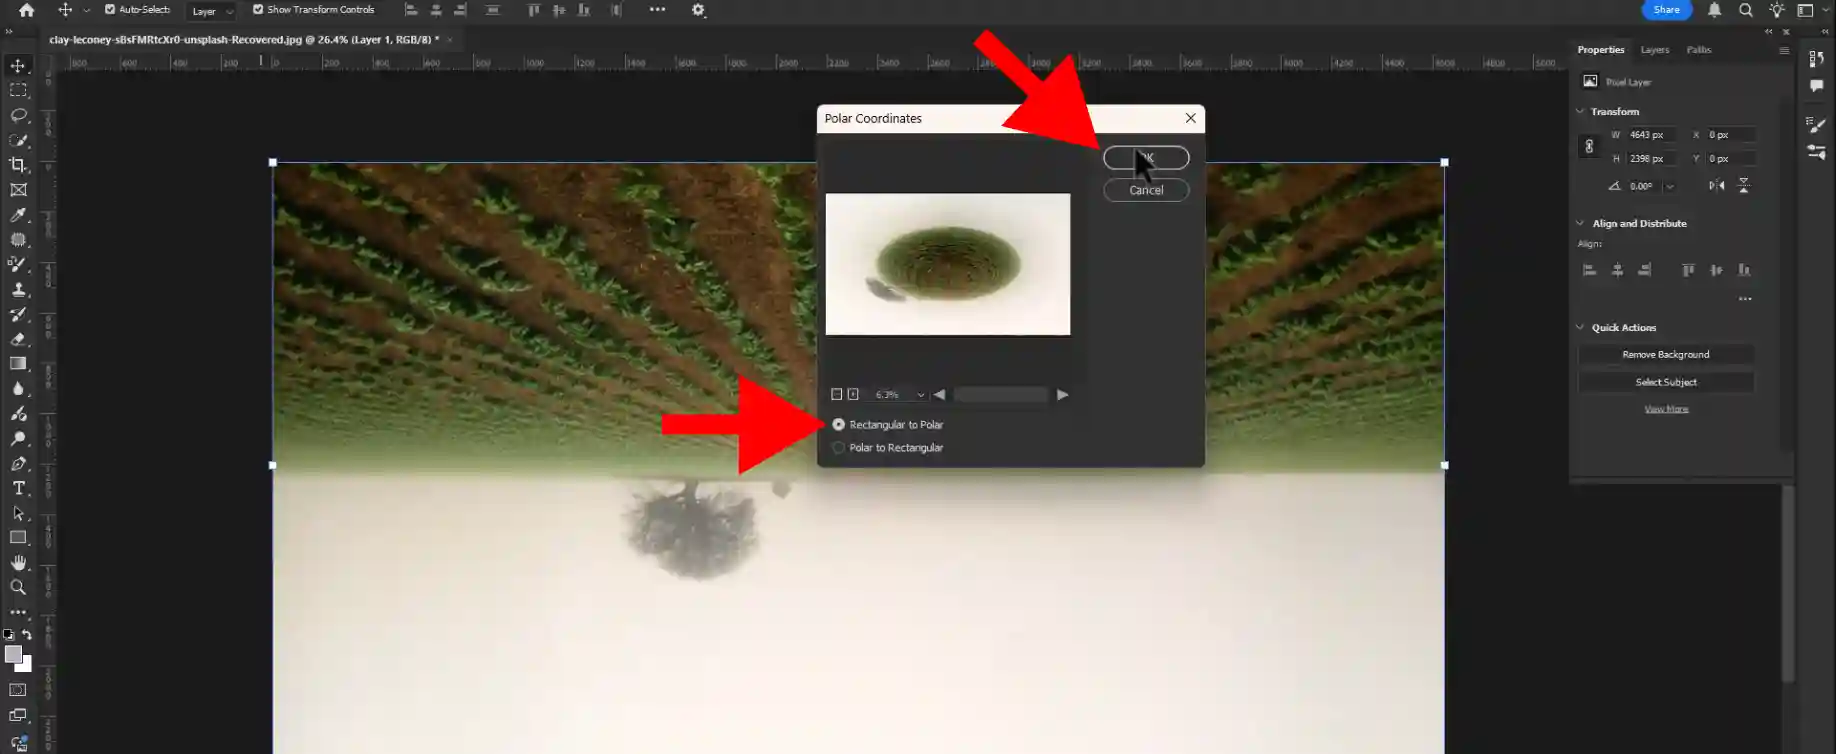
Step 04: Selecting Polar Coordinates Option
Go to you Filter > Distort > polar coordinates option.
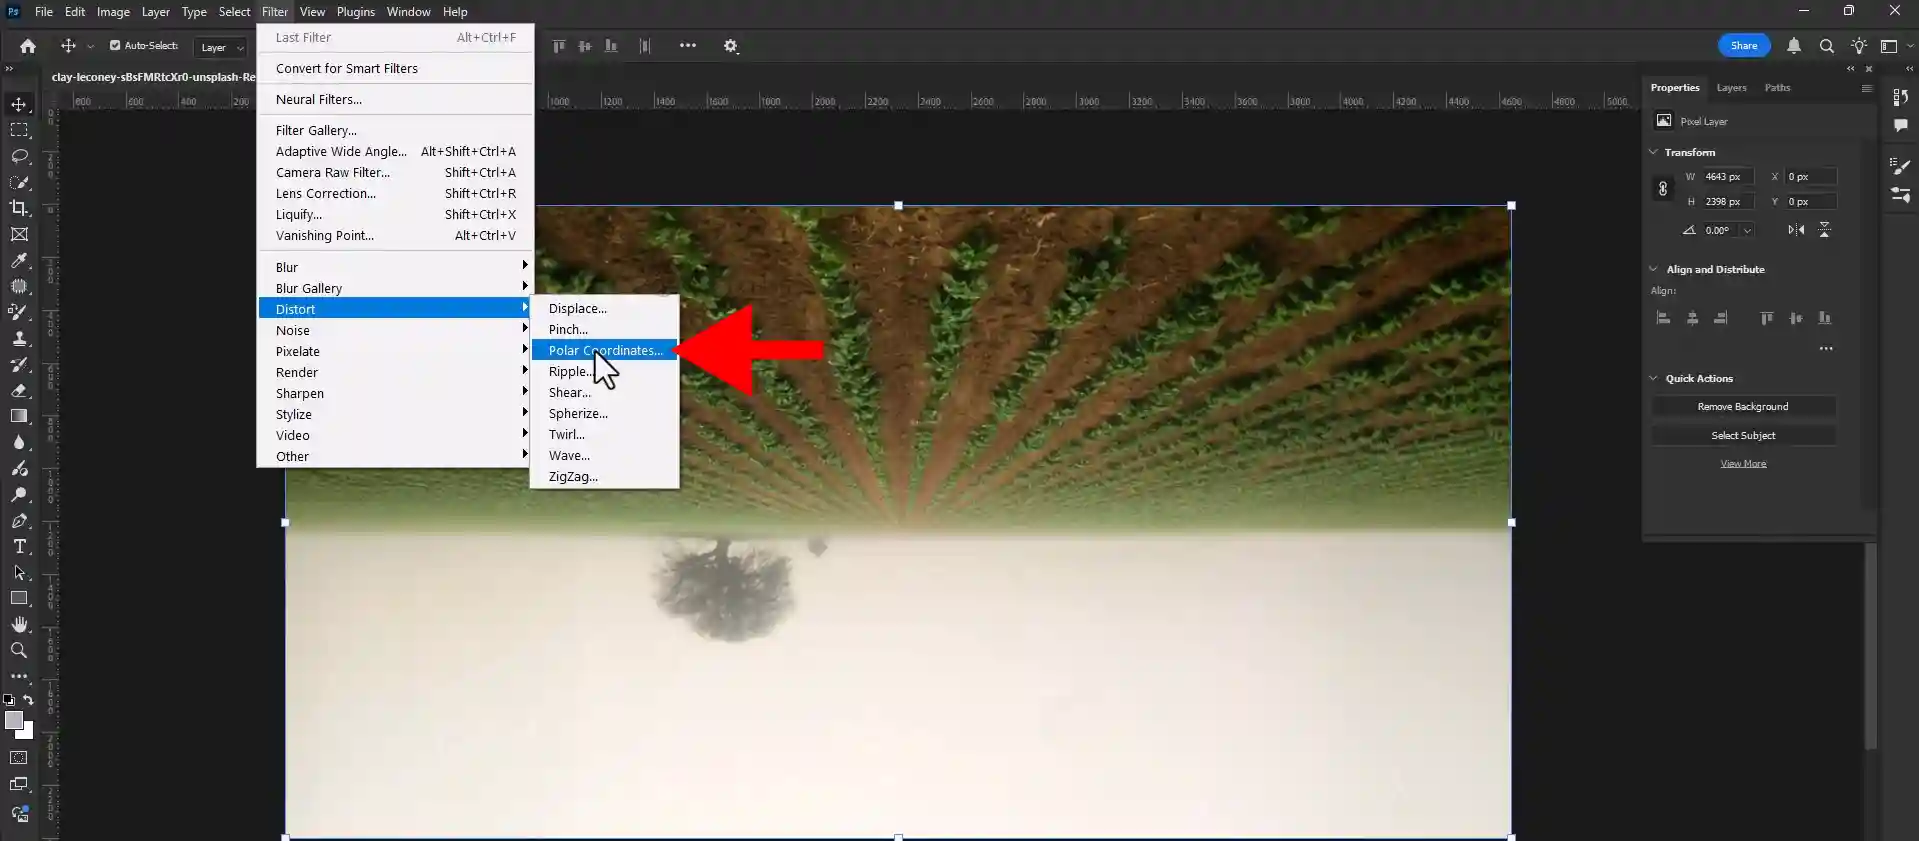
Step 05: Selecting Rectangular To Polar
Select rectangular to polar option and press ok.
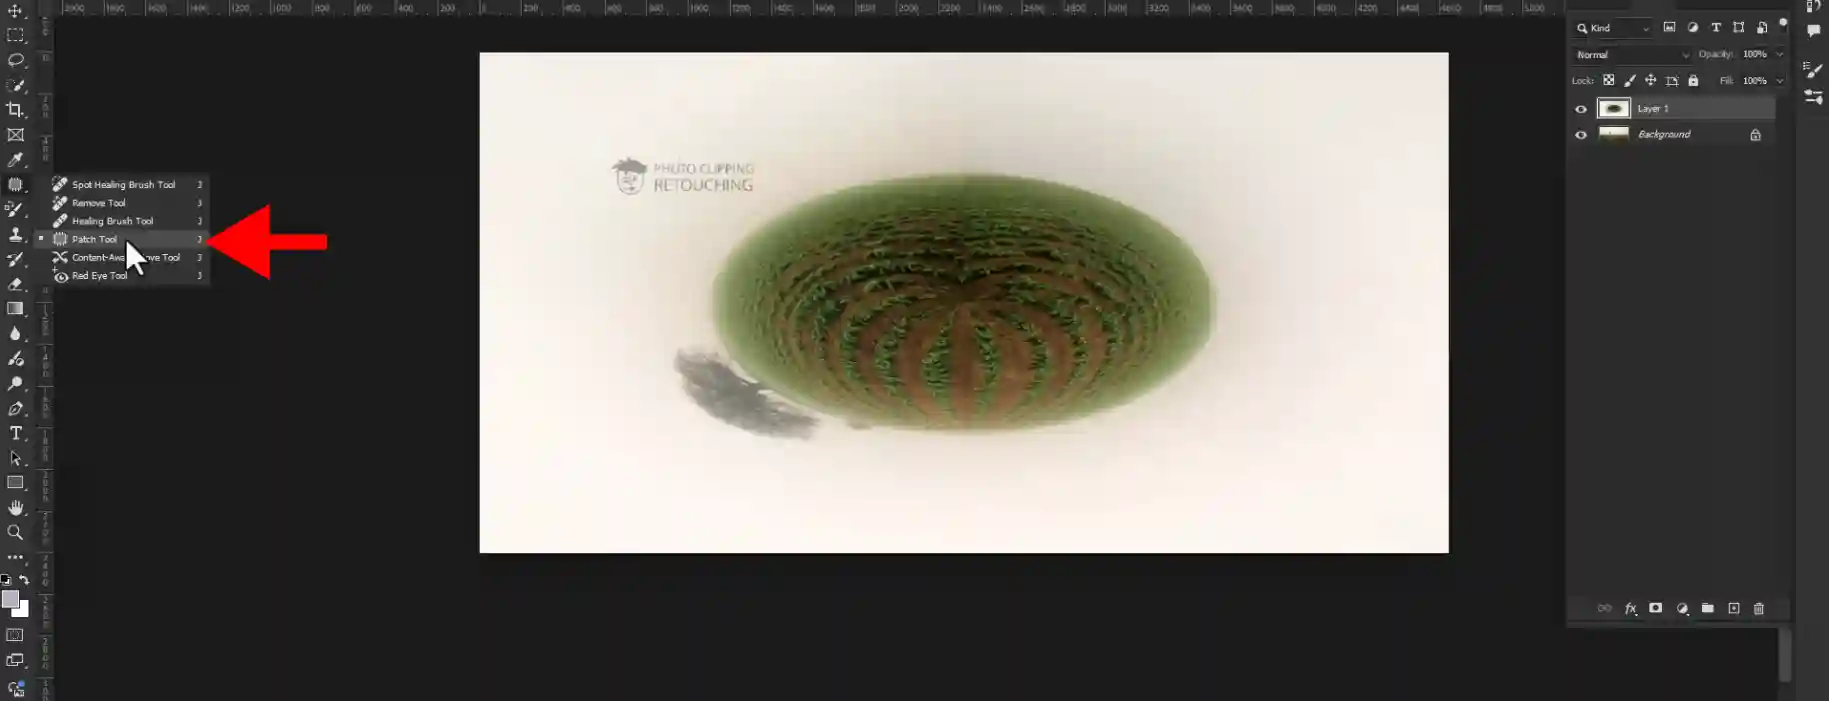
Step 06: Selecting Patch Tool
Go to your left side tool bar and select patch tool.
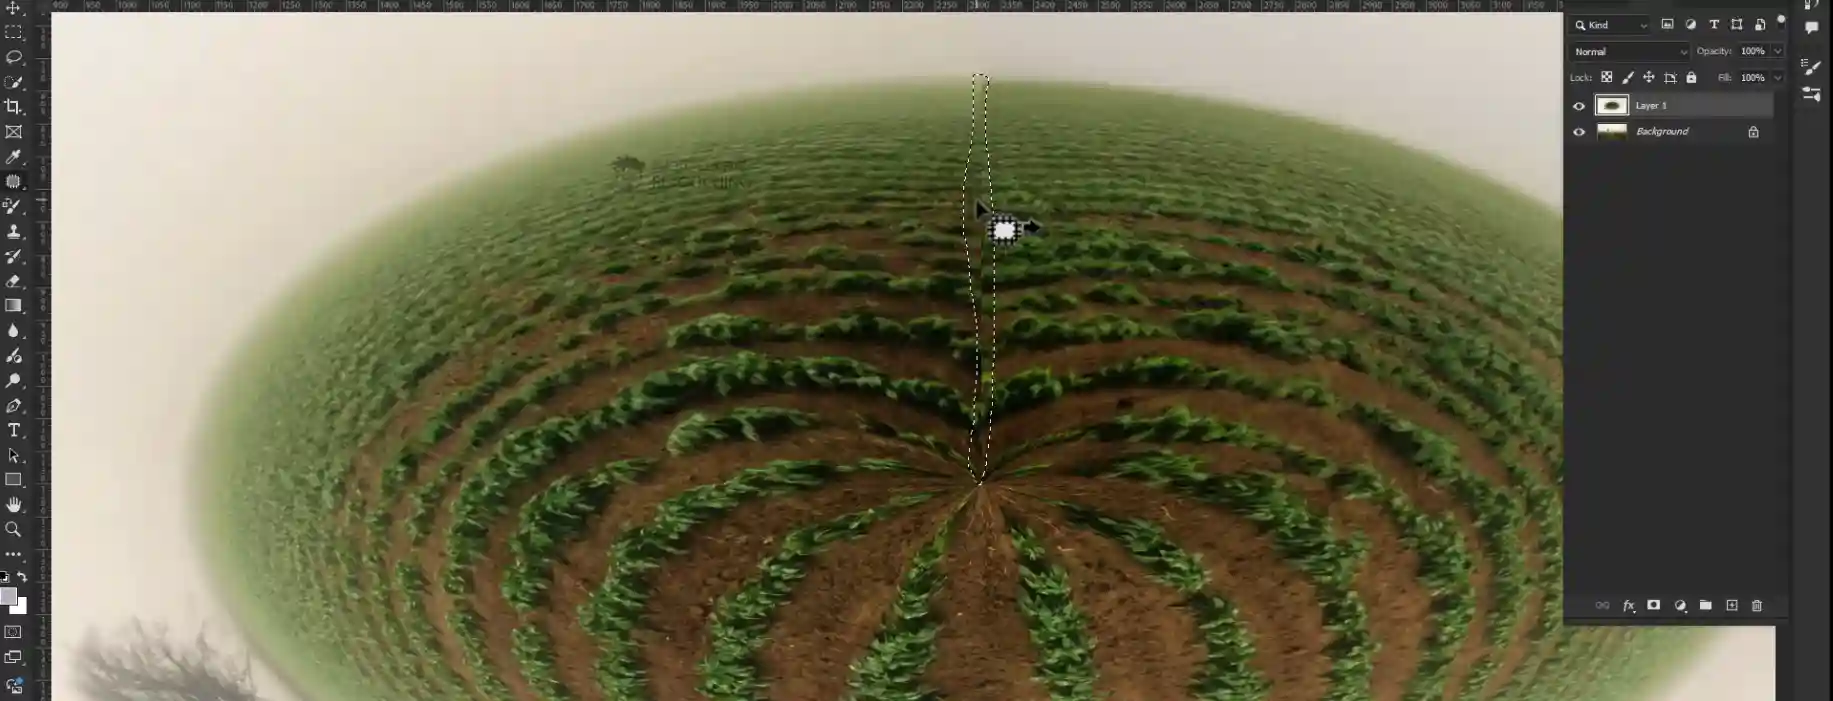
Step 07: Fixing The Damage Area
- Select the damage area and drag it some where in good place then press Ctrl + D.
- Do this thing again and again until it make perfect.
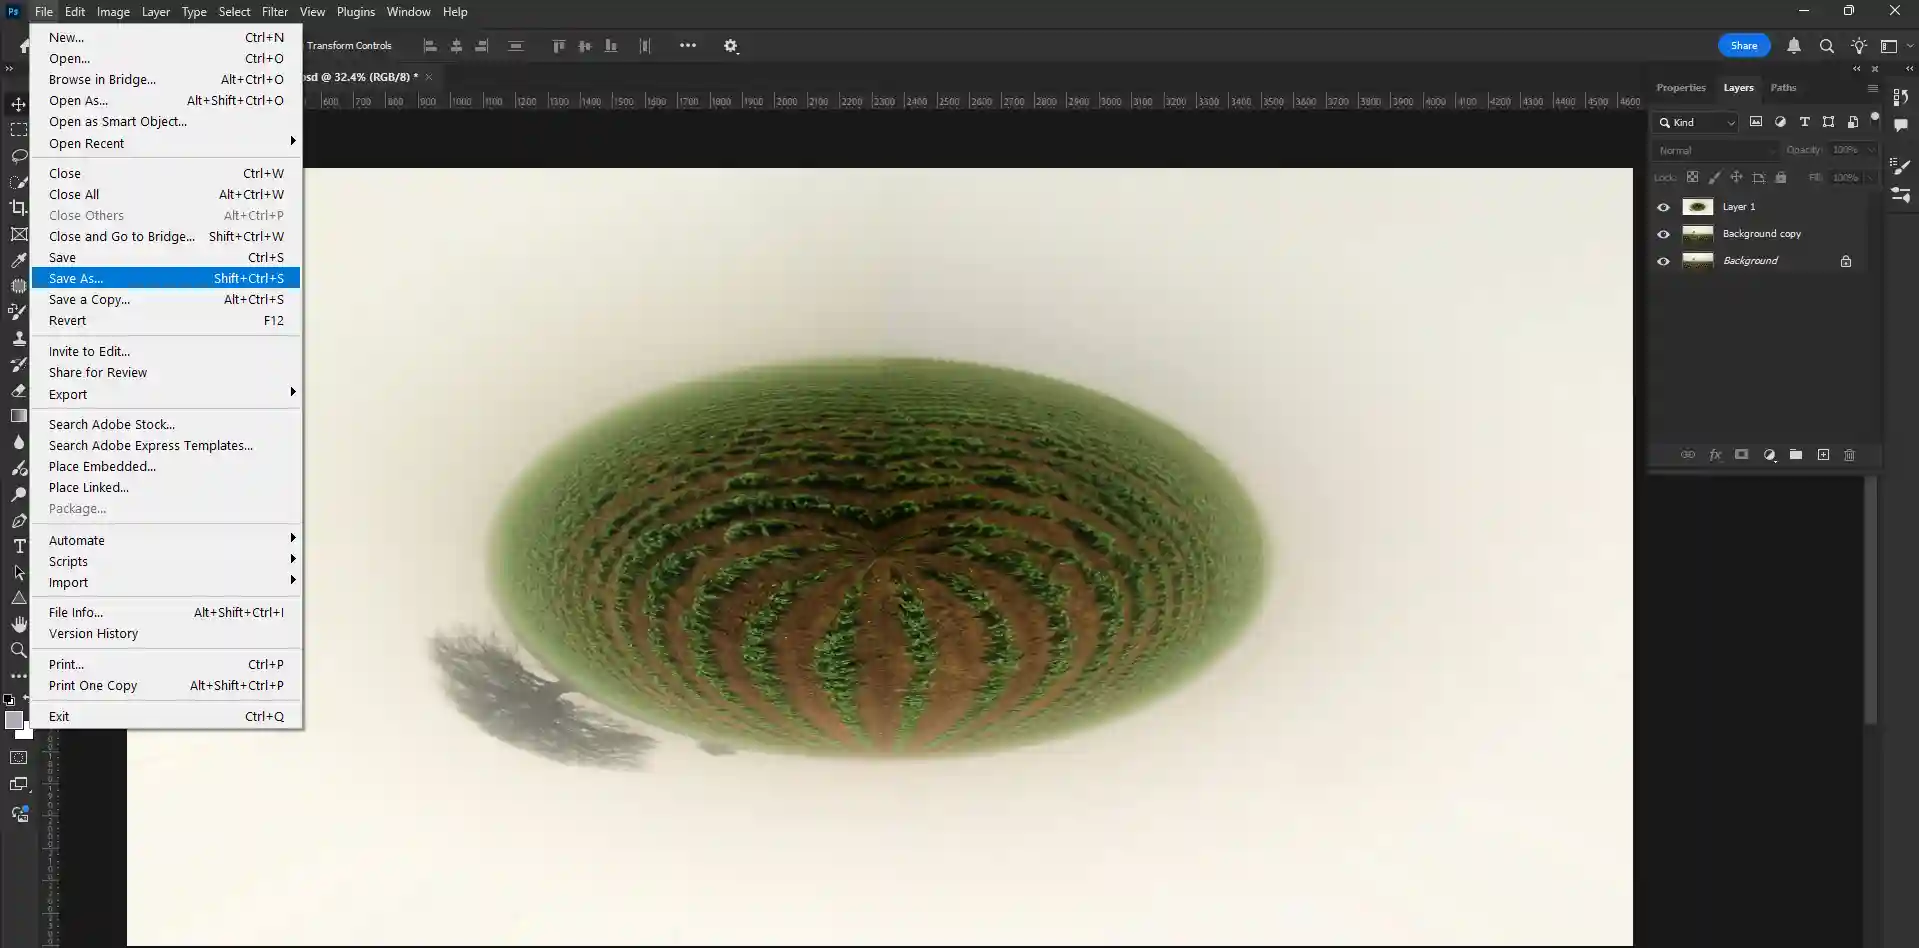
Step 08: Saving The Image
- After completing the work perfectly go to your right side and click on file option.
- Then click on save as option.
- Now save it as you wanted.You can save it JPGE,PSD format.
Finally your work is done.
More Tools For Your Toolbox
The Patch Tool used in Step Six is excellent, but professional editing often requires using the right tool for the specific job. A different approach can be needed in different situations. Expanding your knowledge of these tools will make you a more versatile editor.
1. The Clone Stamp Tool
This is a classic tool that offers absolute control. It directly copies pixels from a source area and pastes them onto a target area without any blending.
- When to Use It: It is perfect for rebuilding sharp geometric lines, corners, or specific patterns where the intelligent blending of other tools might soften or distort the details.
2. The Healing Brush Tool
Think of this as a "smarter" version of the Clone Stamp. While carefully sampling the color, brightness, and shading from the destination area, it replicates the texture from the source area to produce a smooth blend.
- When to Use It: This is my go-to tool for most stitching errors on organic surfaces like skies, grass, skin, or plain walls. The blending capabilities make the repair virtually invisible.
3. Content-Aware Fill
This is a powerful, automated tool. You simply make a selection around a bad area or an object you want to remove, and the software analyzes the entire surrounding area to intelligently invent a new, seamless patch.
- When to Use It: It is best for fixing large, irregular stitching errors or removing unwanted objects from a complex background. It can be a massive time-saver, but it is less precise, so it is always good to check the results carefully.
Watch The Process In Action A Video Tutorial
I know that for many people, watching someone perform a task is the best way to learn. To make this guide as clear as possible, a complete video tutorial has been created. In the video, you can watch one of my colleagues go through this exact workflow on a real 360 photo, showing you how to use the filters and tools for a clean result. Seeing the process in action can make all the difference. You can find this helpful video guide on the company's YouTube channel.
;
Expert Tricks for a Flawless Finish
Following the steps is the first part; achieving a truly professional result requires a deeper technique. Here are a few extra tricks I use to make every fix completely invisible.
Trick 1: Master Your Source Selection
When you perform Step Seven, choosing where to drag the patch from is a critical decision. I always look for a source area that has an almost identical texture, brightness, and color.
Trick 2: The Crucial Re-Wrapping Step
After you have fixed the damaged area in Step Seven, you must reverse the Polar Coordinates filter. To do this, simply repeat Step Four and Step Five. However, when the options window appears this time, you must select the other option: "Polar to Rectangular."
Trick 3: The Final Quality Check
Before I make my final save, I always perform a thorough quality check. I view the image in a 360-degree viewer, panning and zooming in on the repaired areas to ensure everything is perfect.
CONCLUSION
This professional workflow is an incredibly powerful tool for achieving the seamless stitching that high-quality 360-degree photos demand. You can improve your photos with this method if you practice.
However, I also understand that for many businesses, time is the most valuable resource. This level of detailed editing requires focus and hours that you may need to invest elsewhere. That is where photo Clipping Retouching can be a valuable partner. The studio is equipped with expert designers who handle complex photo editing projects with speed and precision every day.
If you require pixel-perfect results on a tight deadline, consider letting us handle the technical work. This lets you concentrate on what you do best, which is expanding your business. Contact us today to learn how we can make your images look spectacular.
